Capacitors are fundamental components in electronics, acting like tiny energy reservoirs. They store electrical energy and release it when needed. This makes them crucial for various applications, from smoothing voltage fluctuations to timing circuits.
What is a Capacitor?
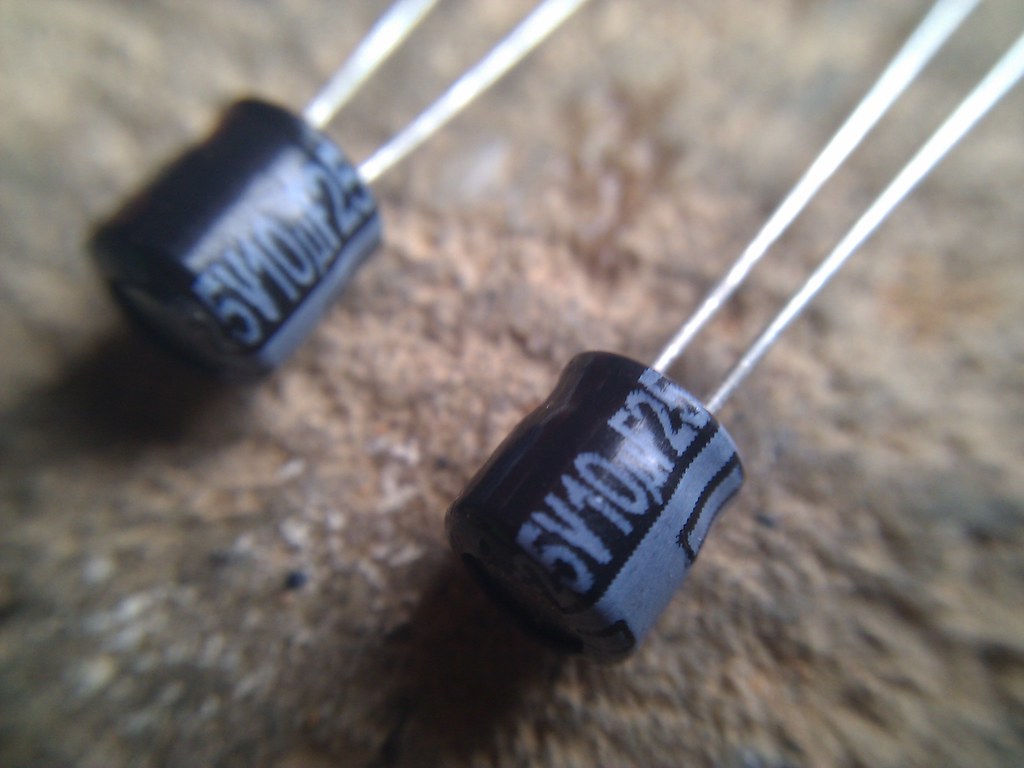
A capacitor consists of two conductive plates separated by an insulator called a dielectric. When connected to a voltage source, opposite charges accumulate on these plates, storing energy in the electric field between them.
Key Characteristics
- Capacitance (Farads): This measures a capacitor’s ability to store charge. A higher capacitance means it can hold more charge for a given voltage.
- Voltage Rating (Volts): This specifies the maximum voltage a capacitor can safely handle. Exceeding this rating can damage the capacitor.
Hands-on Experiment: LED Flasher
Let’s build a simple LED flasher circuit to see capacitors in action. You’ll need:
- A capacitor (e.g., 1000µF electrolytic capacitor)
- A resistor (e.g., 220 ohms)
- An LED
- A breadboard
- Jumper wires
- A 9V battery and snap connector
Circuit Setup
- Connect the positive (+) leg of the capacitor to the positive (+) rail of the breadboard.
- Connect the negative (-) leg of the capacitor to the negative (-) rail of the breadboard.
- Connect one end of the resistor to the positive (+) leg of the capacitor.
- Connect the other end of the resistor to the long leg (+) of the LED.
- Connect the short leg (-) of the LED to the negative (-) rail of the breadboard.
- Connect the positive (+) wire from the 9V battery snap connector to the positive (+) rail of the breadboard.
- Connect the negative (-) wire from the 9V battery snap connector to the negative (-) rail of the breadboard.
Observation:
Once the circuit is connected, you’ll notice the LED blinking. Here’s what’s happening:
- The capacitor charges up through the resistor.
- As the capacitor’s voltage reaches a certain threshold, it discharges through the LED, causing it to light up.
- The capacitor then charges again, repeating the cycle.
Pro Tips
- Polarity Matters: Electrolytic capacitors have polarity (+/-). Ensure you connect them correctly, otherwise they could be damaged.
- Start with Low Voltage: When experimenting with capacitors, it’s safer to begin with lower voltages to avoid potential hazards.
#Electronics #Capacitors #DIY #Beginner #Circuitry