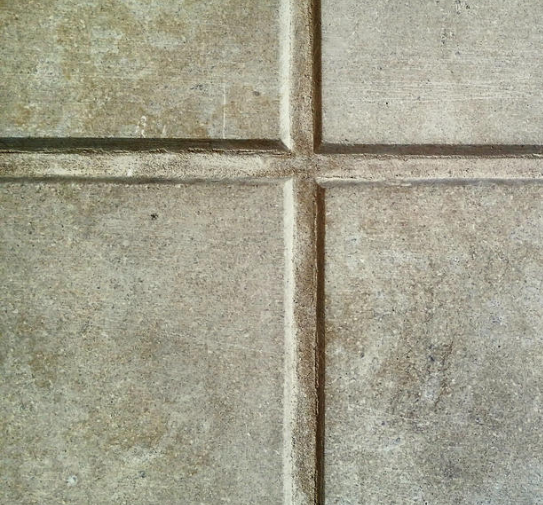
Grout, the unsung hero of tiled surfaces, plays a crucial role in aesthetics and structural integrity. Over time, grout can crack, crumble, or discolor, detracting from the beauty of your tiles and potentially leading to water damage. This guide will equip intermediate DIYers with the knowledge and techniques to tackle grout repair like a seasoned professional.
Assessing the Damage
Before diving into repairs, carefully examine the grout lines. Identify the extent of damage, whether it’s hairline cracks, missing chunks, or widespread staining. Determining the cause of the damage, such as heavy traffic, improper installation, or moisture infiltration, is essential for effective and lasting repairs.
Gathering Tools and Materials
Having the right tools and materials at hand will streamline the repair process. Here’s a list of essentials:
- Grout removal tool (manual or powered)
- Shop vacuum
- Grout float
- Grout sealant
- Painter’s tape
- Sponge
- Bucket
- Grout (matching existing color or desired new color)
- Gloves and safety glasses
Removing Damaged Grout
Wearing safety glasses and gloves, use a grout removal tool to carefully chip away the damaged grout. Work slowly and precisely, avoiding damage to surrounding tiles. A powered tool can expedite the process for larger areas, but exercise caution to prevent gouging the tiles. Thoroughly vacuum the area to remove debris.
Mixing and Applying New Grout
Follow the manufacturer’s instructions for mixing the grout to the desired consistency. Apply the grout using a grout float, pressing it firmly into the grout lines at a 45-degree angle. Ensure the grout is evenly distributed and fills the gaps completely. Remove excess grout with the edge of the float.
Cleaning and Sealing
After allowing the grout to set for the recommended time (refer to the manufacturer’s instructions), dampen a sponge and gently wipe away the grout haze from the tile surface. Rinse the sponge frequently with clean water. Once the grout has fully cured, apply a grout sealant to protect it from staining and moisture penetration.
Pro Tips
- Color Matching: For best results, use a grout color that closely matches the existing grout or opt for a complementary shade to enhance the tile design. Consider testing the grout color on a spare tile before applying it to the entire area.
- Sealing Regularly: Regular sealing (every 1-2 years) helps maintain the grout’s integrity and prevents staining. Choose a high-quality sealant specifically designed for grout.
#Tags: Home Improvement, DIY, Grout Repair, Tile Maintenance, Home Maintenance
