SPI, or Serial Peripheral Interface, is a synchronous communication protocol commonly used to connect microcontrollers to peripherals like sensors, displays, and memory chips. This guide will walk you through the basics of SPI and help you get started with your first SPI project.
Understanding SPI
SPI relies on a master-slave architecture, where a master device initiates the communication and controls the data flow. The communication involves four signals:
- MOSI (Master Out Slave In): Carries data from the master to the slave.
- MISO (Master In Slave Out): Carries data from the slave to the master.
- SCLK (Serial Clock): Provides the clock signal for synchronizing data transfer.
- SS (Slave Select): Used to select the specific slave device the master wants to communicate with.
Setting Up Your Hardware
To begin, you’ll need:
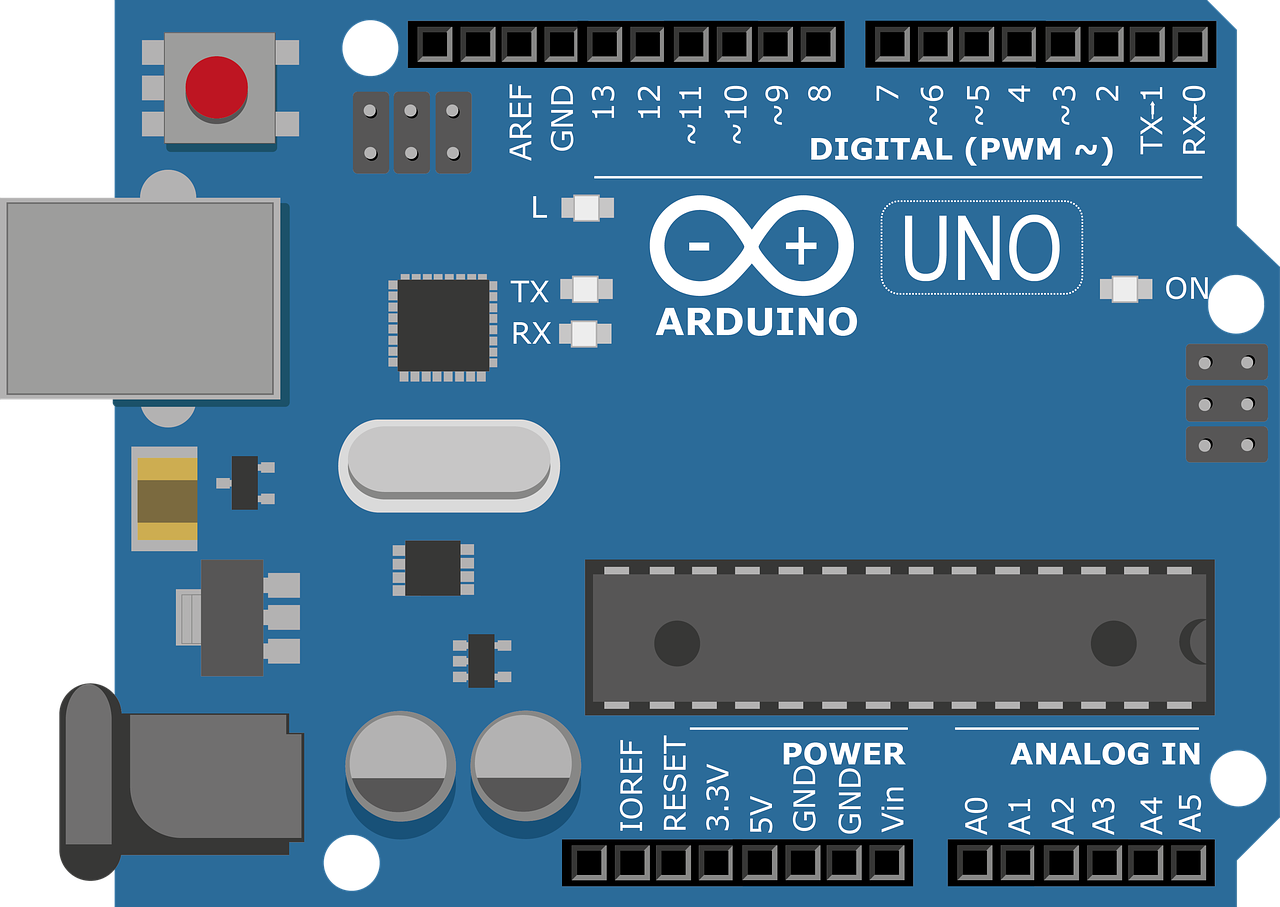
- A microcontroller with SPI capabilities (e.g., Arduino, Raspberry Pi).
- An SPI peripheral (e.g., temperature sensor, SD card reader).
- Jumper wires to connect the devices.
Connect the SPI pins of your microcontroller to the corresponding pins on your peripheral. Ensure the SS pin of the peripheral is connected to a digital output pin on your microcontroller.
Writing the Code
You’ll need to configure the SPI settings in your microcontroller’s code, including the clock speed, data order, and mode. Consult your microcontroller’s documentation for specific instructions on SPI configuration. Here’s a basic example using Arduino:
#include <SPI.h>
const int ssPin = 10;
void setup() {
// Set the SS pin as an output:
pinMode(ssPin, OUTPUT);
// Initialize SPI:
SPI.begin();
// Set SPI clock speed to 4 MHz:
SPI.beginTransaction(SPISettings(4000000, MSBFIRST, SPI_MODE0));
}
void loop() {
// Activate the slave device:
digitalWrite(ssPin, LOW);
// Send some data:
SPI.transfer(0xAA);
// Deactivate the slave device:
digitalWrite(ssPin, HIGH);
delay(1000);
}This code sends a byte of data (0xAA) to the selected slave device every second.
Pro Tips
- Clock Speed Considerations: Start with a lower SPI clock speed and gradually increase it until you find a stable balance between speed and reliability.
- Multiple Slaves: If using multiple SPI devices, each one needs a dedicated SS pin. This allows you to select which slave to communicate with.
#Tags: SPI, Serial Peripheral Interface, Microcontroller, Arduino, Raspberry Pi, Sensors, Communication Protocol, Hardware, DIY, Electronics, Beginner