LEDs, or Light Emitting Diodes, are everywhere these days, from your phone screen to traffic lights. They are small, efficient, and come in a variety of colors, making them perfect for hobbyist projects. Here’s what you need to know to start using LEDs:
Understanding the Basics
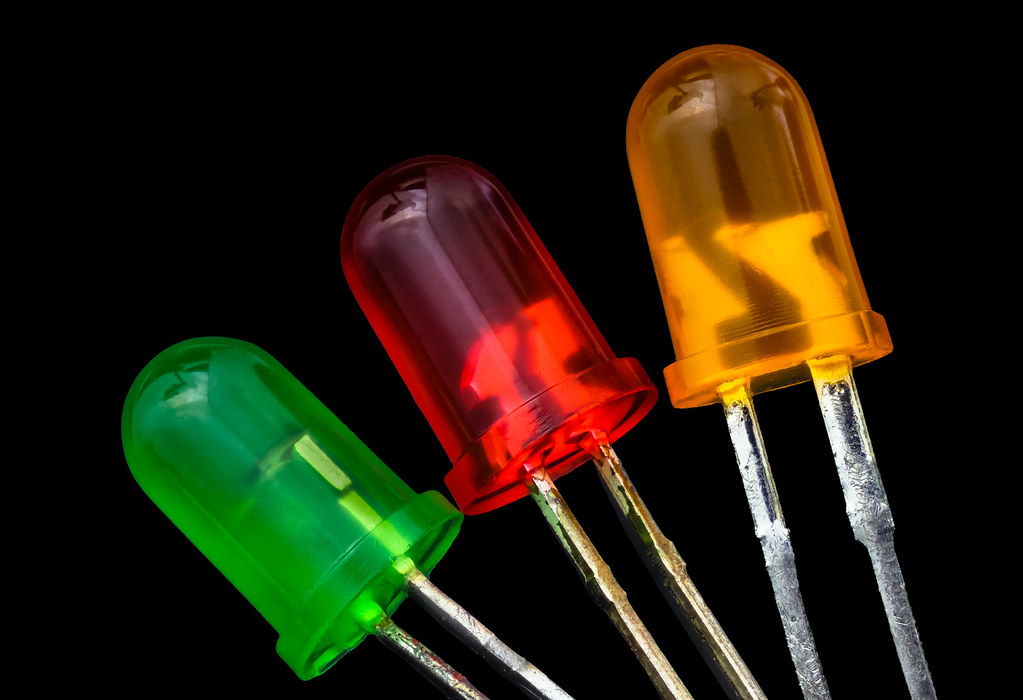
- Polarity: LEDs have a positive (+) and a negative (-) side. The longer leg is usually the positive (+) side, also known as the anode. The shorter leg is the negative (-) side or cathode.
- Voltage: LEDs need a specific voltage to light up. This voltage varies depending on the color and type of LED but is typically around 1.7-3.3 volts.
- Current: Too much current can burn out an LED. A resistor is used to limit the current flowing through the LED.
Connecting an LED to a Circuit
- Gather your materials:
- An LED
- A resistor (220 ohms is a good starting point)
- A breadboard (optional, but helpful for prototyping)
- Jumper wires
- A power source (like a 9V battery)
- Build the circuit:
- Connect the positive (+) leg of the LED to the positive (+) rail of the breadboard.
- Connect the negative (-) leg of the LED to one end of the resistor.
- Connect the other end of the resistor to the negative (-) rail of the breadboard.
- Connect the positive (+) wire from your power source to the positive (+) rail of the breadboard.
- Connect the negative (-) wire from your power source to the negative (-) rail of the breadboard.
- Power up and observe: Your LED should light up! If it doesn’t, double-check your connections and ensure the LED is properly oriented.
Calculating Resistor Value
To determine the correct resistor value for your LED, you can use Ohm’s Law (V=IR) and the LED’s specifications. Here’s a simplified formula:
Resistor = (Supply Voltage - LED Voltage) / LED CurrentFor example, if you have a 9V battery, a 2V LED, and a desired current of 20 milliamps (0.02 amps):
Resistor = (9V - 2V) / 0.02A = 350 ohmsPro Tips:
- Always test your circuit with a low voltage before connecting it to a higher voltage source. This can prevent accidentally burning out your LED.
- Consider using a multimeter to measure the voltage and current in your circuit. This will help you ensure your LED is receiving the correct amount of power.
Tags: #LED, #Electronics, #DIY, #Beginner, #Hardware, #Circuit, #Resistor, #Voltage, #Current