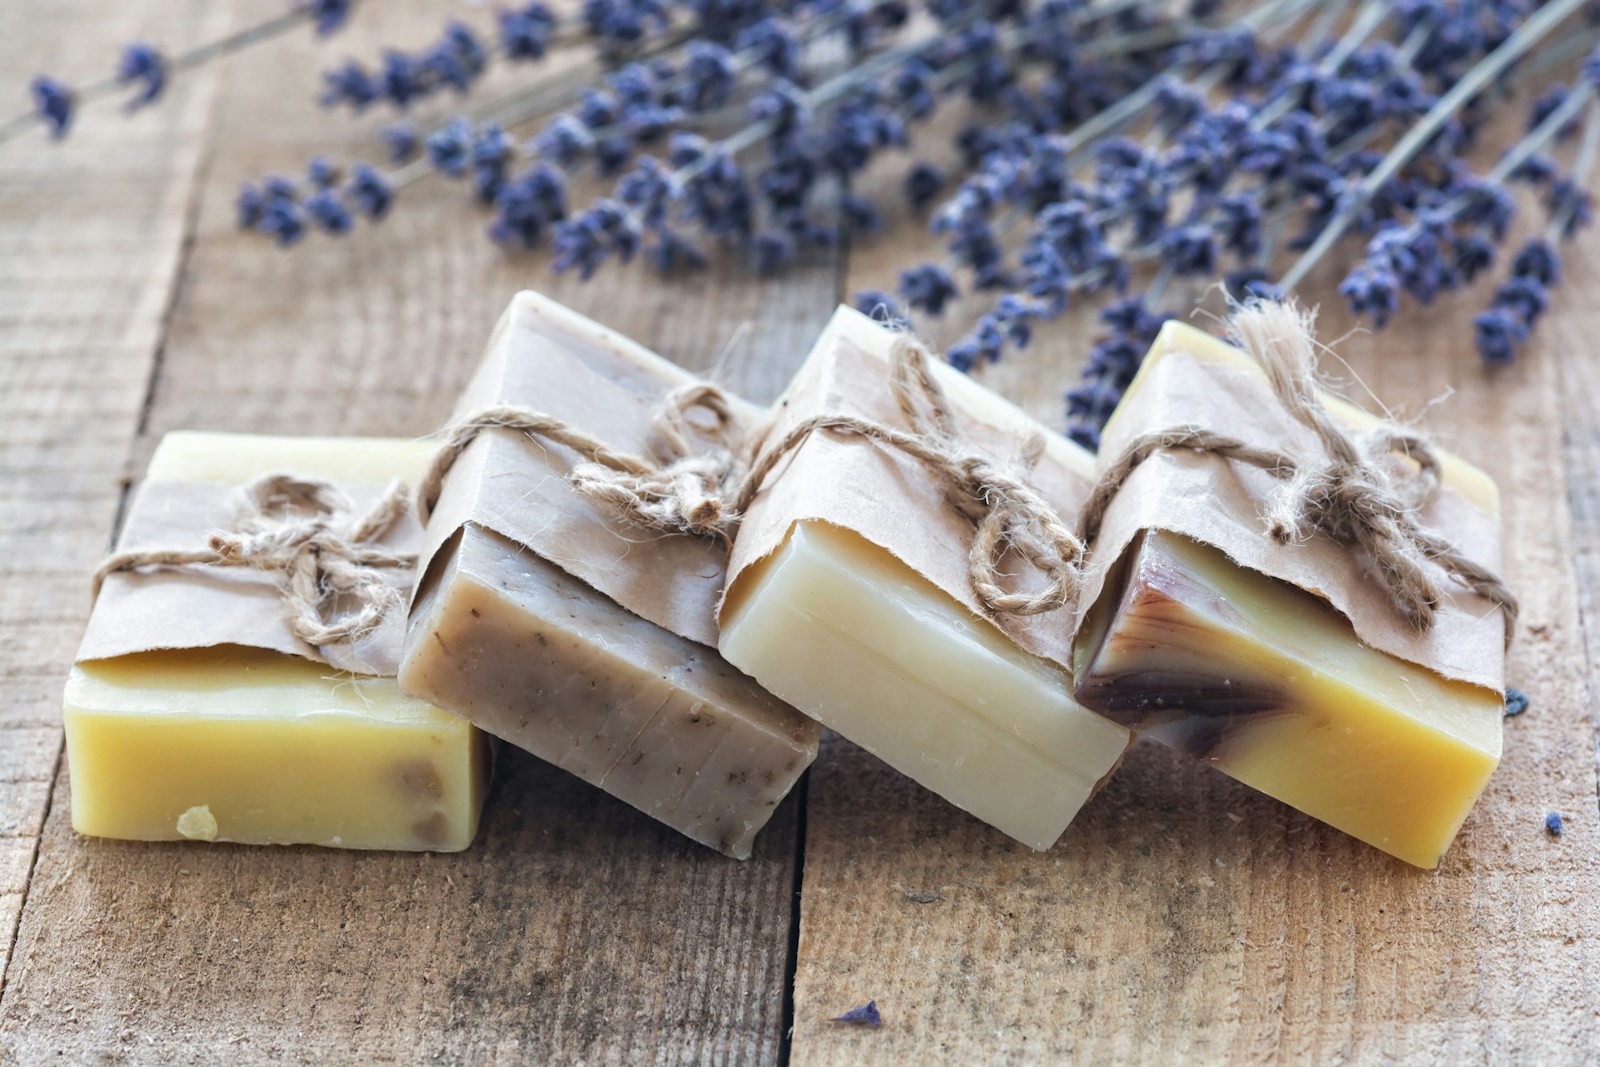
Soapmaking for Beginners: Mastering the Melt and Pour Technique
Making your own soap is a rewarding and creative hobby. For beginners, the melt and pour method offers an easy and accessible entry point. This technique involves using a pre-made soap base, eliminating the need for handling lye, which can be dangerous for novices.
Materials You’ll Need:
- Melt and pour soap base (glycerin, shea butter, etc.)
- Heat-safe container (glass measuring cup or microwave-safe bowl)
- Microwave or double boiler
- Stirring spoon or rubber spatula
- Rubbing alcohol in a spray bottle
- Soap molds (silicone molds are recommended)
- Optional: Colorants (soap-making dyes, micas, natural ingredients)
- Optional: Fragrances (essential oils, soap-making fragrances)
- Optional: Additives (dried herbs, oatmeal, clays)
Step-by-Step Instructions:
- Prepare Your Workspace: Cover your work surface with parchment paper or a silicone mat for easy cleaning. Have all your materials measured and within reach.
- Cut and Melt the Soap Base: Cut the soap base into small cubes for quicker melting. Place the cubes in your heat-safe container.
- Melt the Base:
- Microwave: Heat in short bursts (30 seconds), stirring in between, until completely melted. Avoid overheating.
- Double Boiler: Fill a pot with a couple of inches of water and bring to a simmer. Place the container with the soap base over the simmering water, ensuring no water gets into the soap. Stir until melted.
- Add Color and Fragrance (Optional): Once the base is fully melted, remove from heat. If desired, add a few drops of colorant and/or fragrance oil. Stir gently to incorporate.
- Incorporate Additives (Optional): If using additives, add them now and mix well.
- Pour into Molds: Carefully pour the soap mixture into your chosen molds. Gently tap the molds on the counter to release any air bubbles.
- Spritz with Alcohol: Lightly spray the surface of the soap with rubbing alcohol. This helps prevent soda ash (a white film) from forming.
- Cool and Unmold: Allow the soap to harden completely. This can take several hours or overnight, depending on the size and type of mold. Once hardened, gently flex the mold to release the soap.
- Cure (Optional): For harder, longer-lasting bars, allow the soap to cure in a cool, dry place for 2-4 weeks. This allows excess moisture to evaporate.
Pro Tips:
- To avoid air bubbles, don’t overmix the soap batter once melted. Pouring at a slightly cooler temperature can also help.
- For layered designs, allow each layer to harden slightly before pouring the next.
Tags: soapmaking, diy, melt and pour, beginners, handmade, crafts, soap, tutorial, howto
