Drywall finishing, the process of smoothing out joints and imperfections on drywall surfaces, can make or break the aesthetic of your renovation project. While basic drywall taping might suffice for some, achieving a truly seamless, professional look requires mastering the art of a Level 5 finish. This advanced technique involves meticulous layering and sanding of joint compound, ultimately resulting in a surface ready for painting without any visible imperfections.
Here’s how to achieve a flawless Level 5 drywall finish:
1. Preparation is Key: Begin by ensuring the drywall is properly installed and secured. Any loose screws or protruding edges must be addressed before proceeding. Clean the drywall surface thoroughly to remove dust or debris that can interfere with the adhesion of joint compound.
2. Applying the First Coat: Using a 6-inch drywall taping knife, apply a thin layer of joint compound over all joints and screw holes. Focus on feathering the edges to create a smooth transition between the compound and the drywall surface. Embed paper drywall tape over all joints, ensuring it’s completely covered with compound. Allow this first coat to dry thoroughly.
3. Building Up the Layers: Apply subsequent layers of joint compound, widening the area of coverage with each application. Use progressively wider drywall knives (8-inch, 10-inch, and 12-inch) to create a gradual, even surface. Allow each layer to dry completely before applying the next, usually 24 hours.
4. The Art of Sanding: Sanding is the most crucial step in achieving a Level 5 finish. Start with a coarse grit sandpaper (around 100 grit) to remove any noticeable ridges or imperfections. Gradually progress to finer grits (150, 220), blending the compound seamlessly with the drywall surface. Use a sanding sponge for intricate areas and corners. Be mindful of sanding pressure, as excessive force can damage the drywall.
5. Priming and Painting: Once you’re satisfied with the smoothness, apply a high-quality primer to seal the drywall compound and create a uniform surface for paint adhesion. After the primer dries, apply your desired paint in thin, even coats.
Pro Tips:
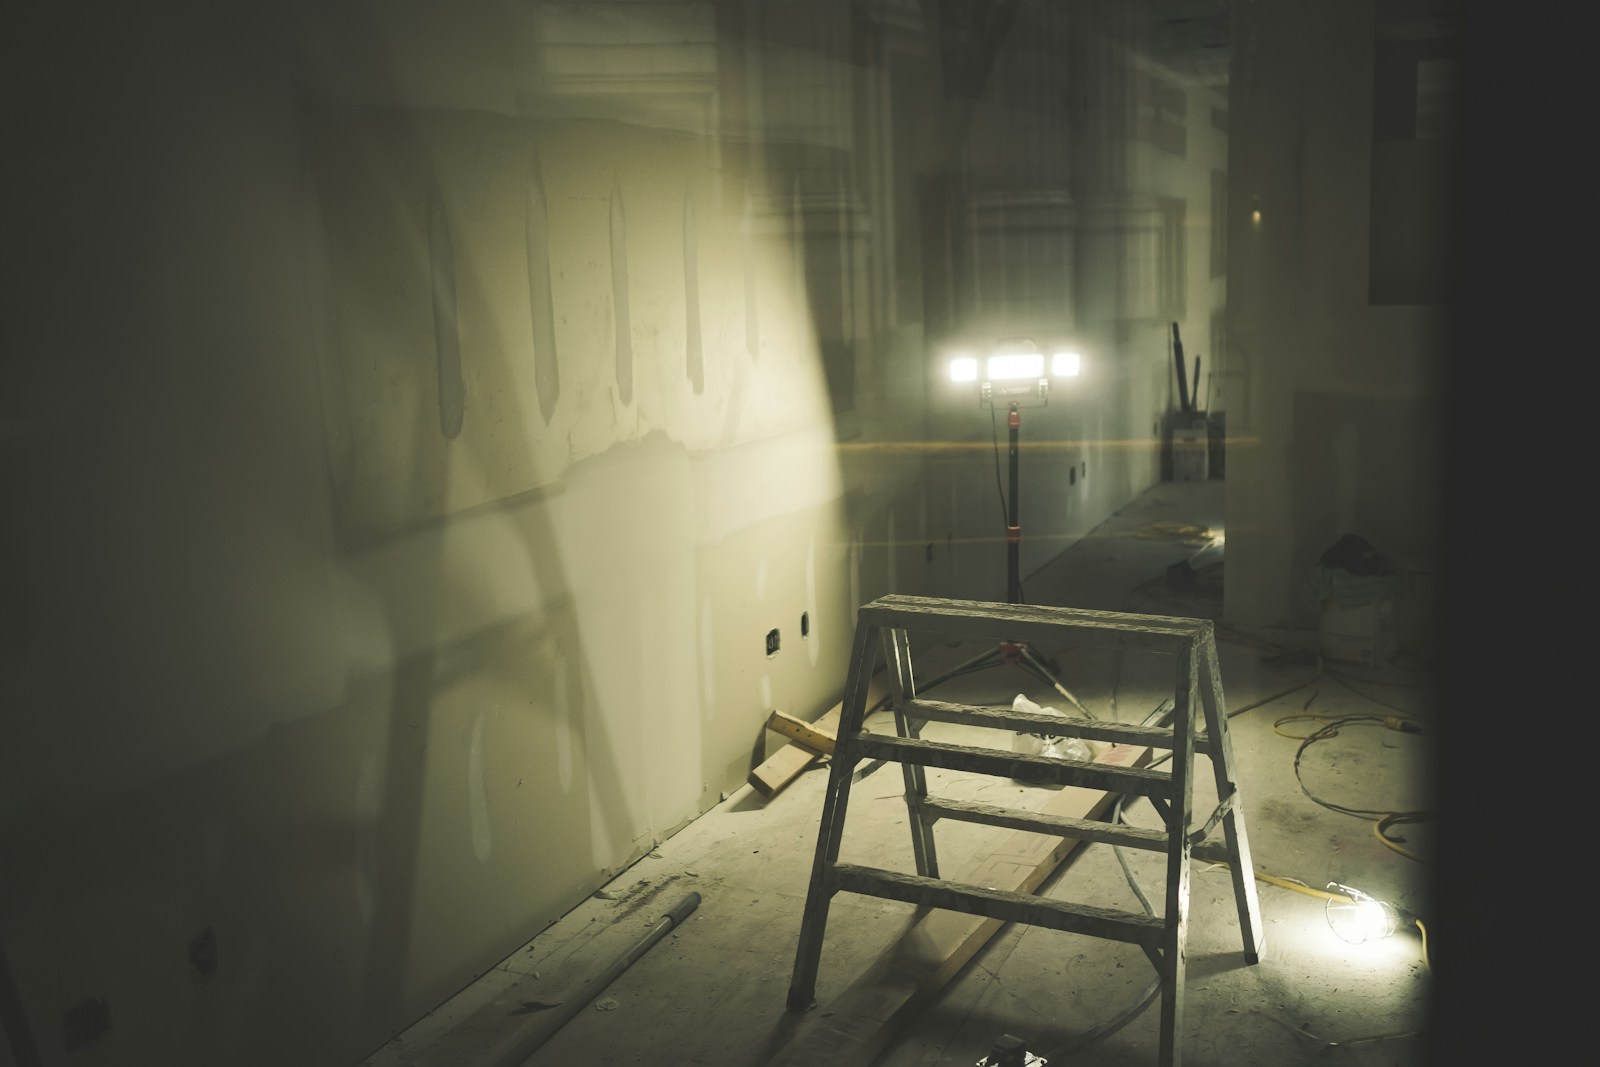
- Lighting is your friend: Use a bright work light to illuminate the surface as you sand, making imperfections easier to spot.
- Invest in quality tools: High-quality drywall knives and sanding tools are essential for achieving a smooth and professional finish.
Tags: #Drywall #Level5Finish #Renovation #DIY #HomeImprovement #AdvancedTechniques #Sanding #JointCompound #FlawlessWalls