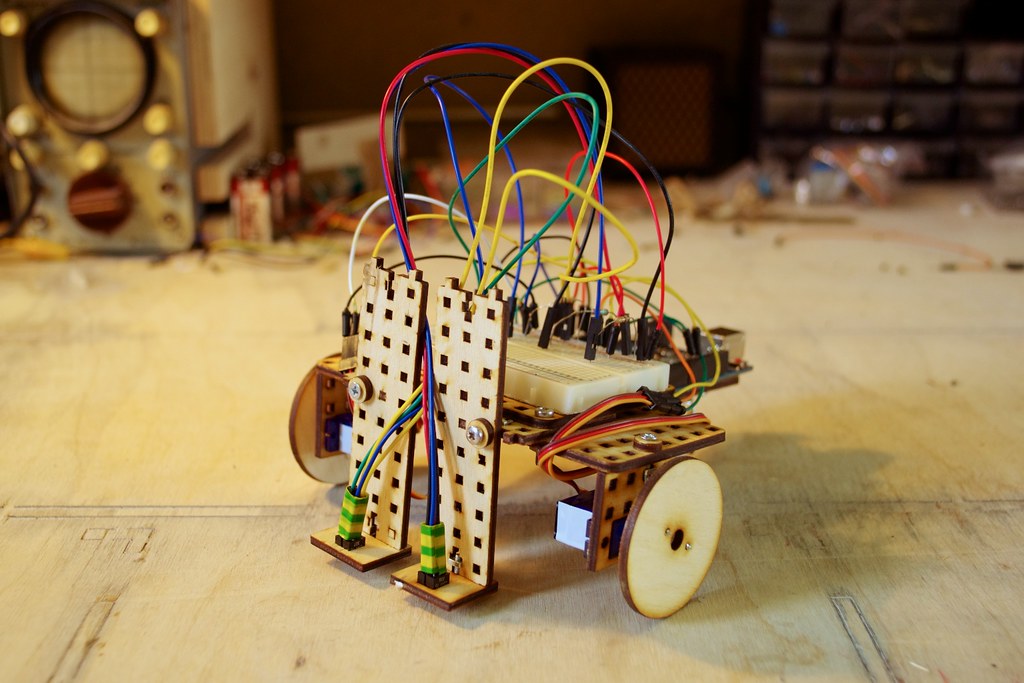
Have you ever been fascinated by robots that can navigate a maze or follow a track? In this beginner’s guide, we’ll explore the basics of building a simple line-following robot using readily available components.
What You’ll Need:
- Chassis: You can use a pre-built robot chassis or make your own using materials like acrylic or wood.
- Motors: Two DC motors are required to drive the robot’s wheels.
- Wheels: Choose wheels that are compatible with your chassis and motors.
- Line Sensors: Infrared (IR) sensors are commonly used for detecting the line. You’ll need at least two sensors.
- Microcontroller: A microcontroller like Arduino will act as the brain of your robot.
- Motor Driver: A motor driver helps control the speed and direction of the motors.
- Power Source: A battery pack will power your robot.
- Connecting Wires and Jumper Cables
Assembling the Robot:
- Mount the motors and wheels: Secure the motors to the chassis and attach the wheels.
- Connect the line sensors: Position the sensors at the front of the robot, facing downwards, so they can detect the line.
- Wire the components: Connect the motors to the motor driver, the line sensors to the microcontroller, and the motor driver to the microcontroller.
- Power the robot: Connect the battery pack to the microcontroller and motor driver.
Programming the Robot:
The microcontroller needs a program to control the robot’s behavior. Here’s a simple algorithm to get you started:
- Read sensor values: Continuously read the values from the line sensors.
- Determine line position: Based on the sensor readings, determine if the line is to the left, right, or center of the robot.
- Control motors: Adjust the speed and direction of the motors to steer the robot and keep it following the line.
// Sample Arduino code (replace with your specific sensor and motor pins)
const int leftSensorPin = 2;
const int rightSensorPin = 3;
const int leftMotorPin1 = 4;
const int leftMotorPin2 = 5;
const int rightMotorPin1 = 6;
const int rightMotorPin2 = 7;

void setup() {
  pinMode(leftSensorPin, INPUT);
  pinMode(rightSensorPin, INPUT);
  pinMode(leftMotorPin1, OUTPUT);
  pinMode(leftMotorPin2, OUTPUT);
  pinMode(rightMotorPin1, OUTPUT);
  pinMode(rightMotorPin2, OUTPUT);
}

void loop() {
  int leftSensorValue = digitalRead(leftSensorPin);
  int rightSensorValue = digitalRead(rightSensorPin);

  if (leftSensorValue == HIGH && rightSensorValue == LOW) {
    // Line is to the left, turn left
    digitalWrite(leftMotorPin1, LOW);
    digitalWrite(leftMotorPin2, HIGH);
    digitalWrite(rightMotorPin1, HIGH);
    digitalWrite(rightMotorPin2, LOW);
  } else if (leftSensorValue == LOW && rightSensorValue == HIGH) {
    // Line is to the right, turn right
    digitalWrite(leftMotorPin1, HIGH);
    digitalWrite(leftMotorPin2, LOW);
    digitalWrite(rightMotorPin1, LOW);
    digitalWrite(rightMotorPin2, HIGH);
  } else {
    // Line is in the center, go straight
    digitalWrite(leftMotorPin1, HIGH);
    digitalWrite(leftMotorPin2, LOW);
    digitalWrite(rightMotorPin1, HIGH);
    digitalWrite(rightMotorPin2, LOW);
  }
}
Pro Tips:
- Calibration: Calibrate your line sensors to ensure they accurately detect the line.
- Experiment with Speed: Adjust the motor speed to find a balance between accuracy and following speed.
Tags: Robotics, Line Following, Arduino, DIY, Beginner, Electronics, Programming
