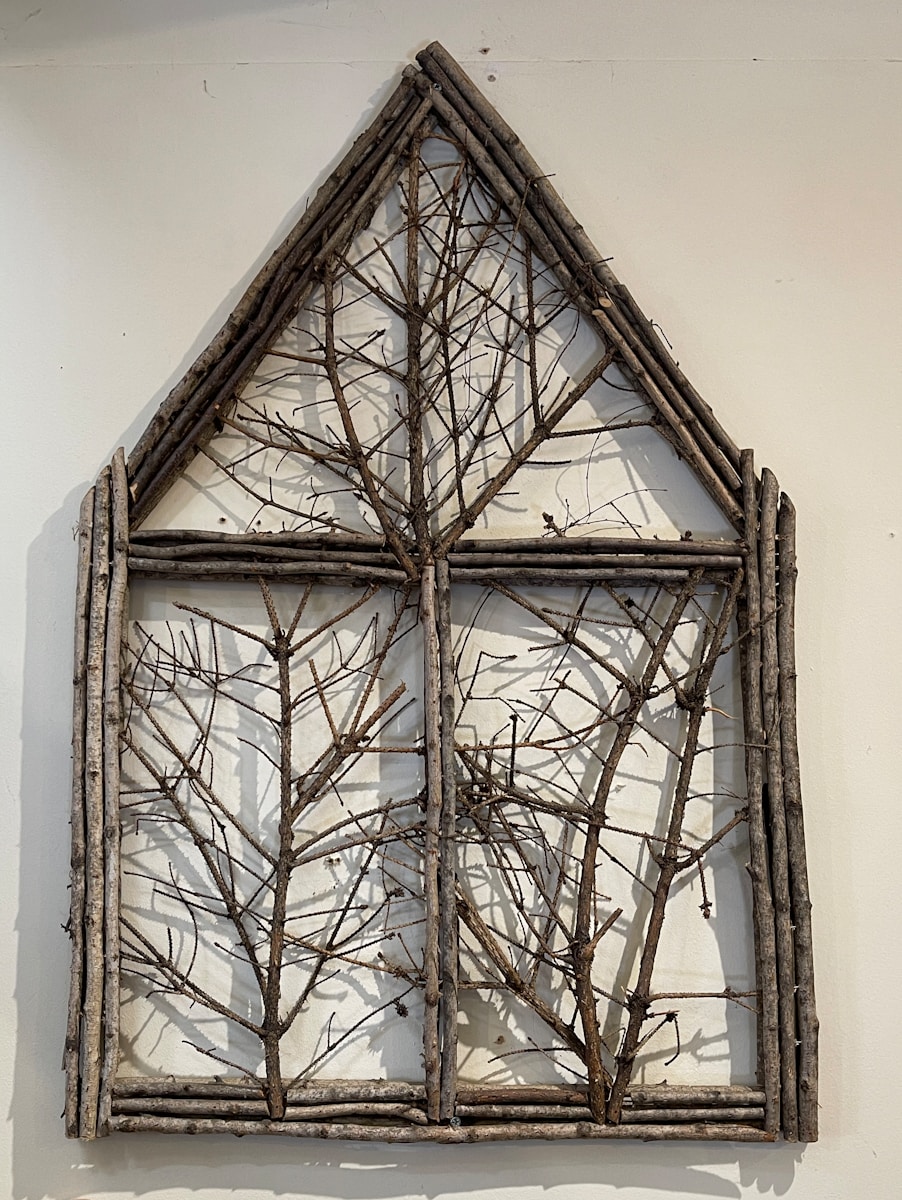
Bring the outdoors in with a charming, rustic picture frame made from twigs! This beginner-friendly project is a great way to add a touch of nature to your home decor.
Materials You’ll Need:
- Twigs of various sizes
- Cardboard
- Hot glue gun and glue sticks
- Scissors or pruning shears
- Ruler
- Pencil
- Picture to frame
Steps:
-
Prepare your twigs: Gather twigs from your backyard or a nearby park. Ensure they are dry and free of loose bark. You can trim them to size as needed using pruning shears or scissors.
-
Create the frame base: Measure your picture and cut a piece of cardboard to the desired size for your frame. You can leave extra space around the picture for a wider border.
-
Start gluing: Apply hot glue to the back of a twig and attach it to the cardboard base. Continue gluing twigs side-by-side, varying the thickness and length to create a natural look. Overlap the twigs slightly for extra stability.
-
Build up the layers: Once you’ve covered all four sides of the cardboard, start layering twigs on top of each other, gluing them securely. Aim for a slightly uneven, organic look.
-
Let it dry: Allow the glue to dry completely before handling the frame.
-
Insert your picture: Place your picture on the back of the frame and secure it with tape or glue.
Pro Tips:
- For a more polished look, consider painting the twigs before gluing. Choose natural colors like white, beige, or gray for a rustic aesthetic.
- Add a personal touch by decorating the frame with dried flowers, small pine cones, or other natural elements.
#Tags: DIY, Home Decor, Rustic, Nature, Picture Frame, Beginner, Crafts, Twigs