The multimeter: a humble yet powerful tool that unlocks the secrets of the electrical world. Whether you’re a hobbyist, DIY enthusiast, or just curious about how things work, understanding this device opens a universe of possibilities. Let’s embark on a journey to demystify the multimeter and equip you with the basics.
What is a Multimeter?
A multimeter is an electronic instrument that measures various electrical properties, including:
- Voltage (V): The electrical potential difference between two points.
- Current (A): The flow of electrical charge through a conductor.
- Resistance (Ω): A material’s opposition to the flow of electrical current.
Many multimeters also offer additional functions like continuity testing (checking for a complete circuit), diode testing (verifying the functionality of diodes), and capacitance measurement (determining a capacitor’s ability to store electrical charge).
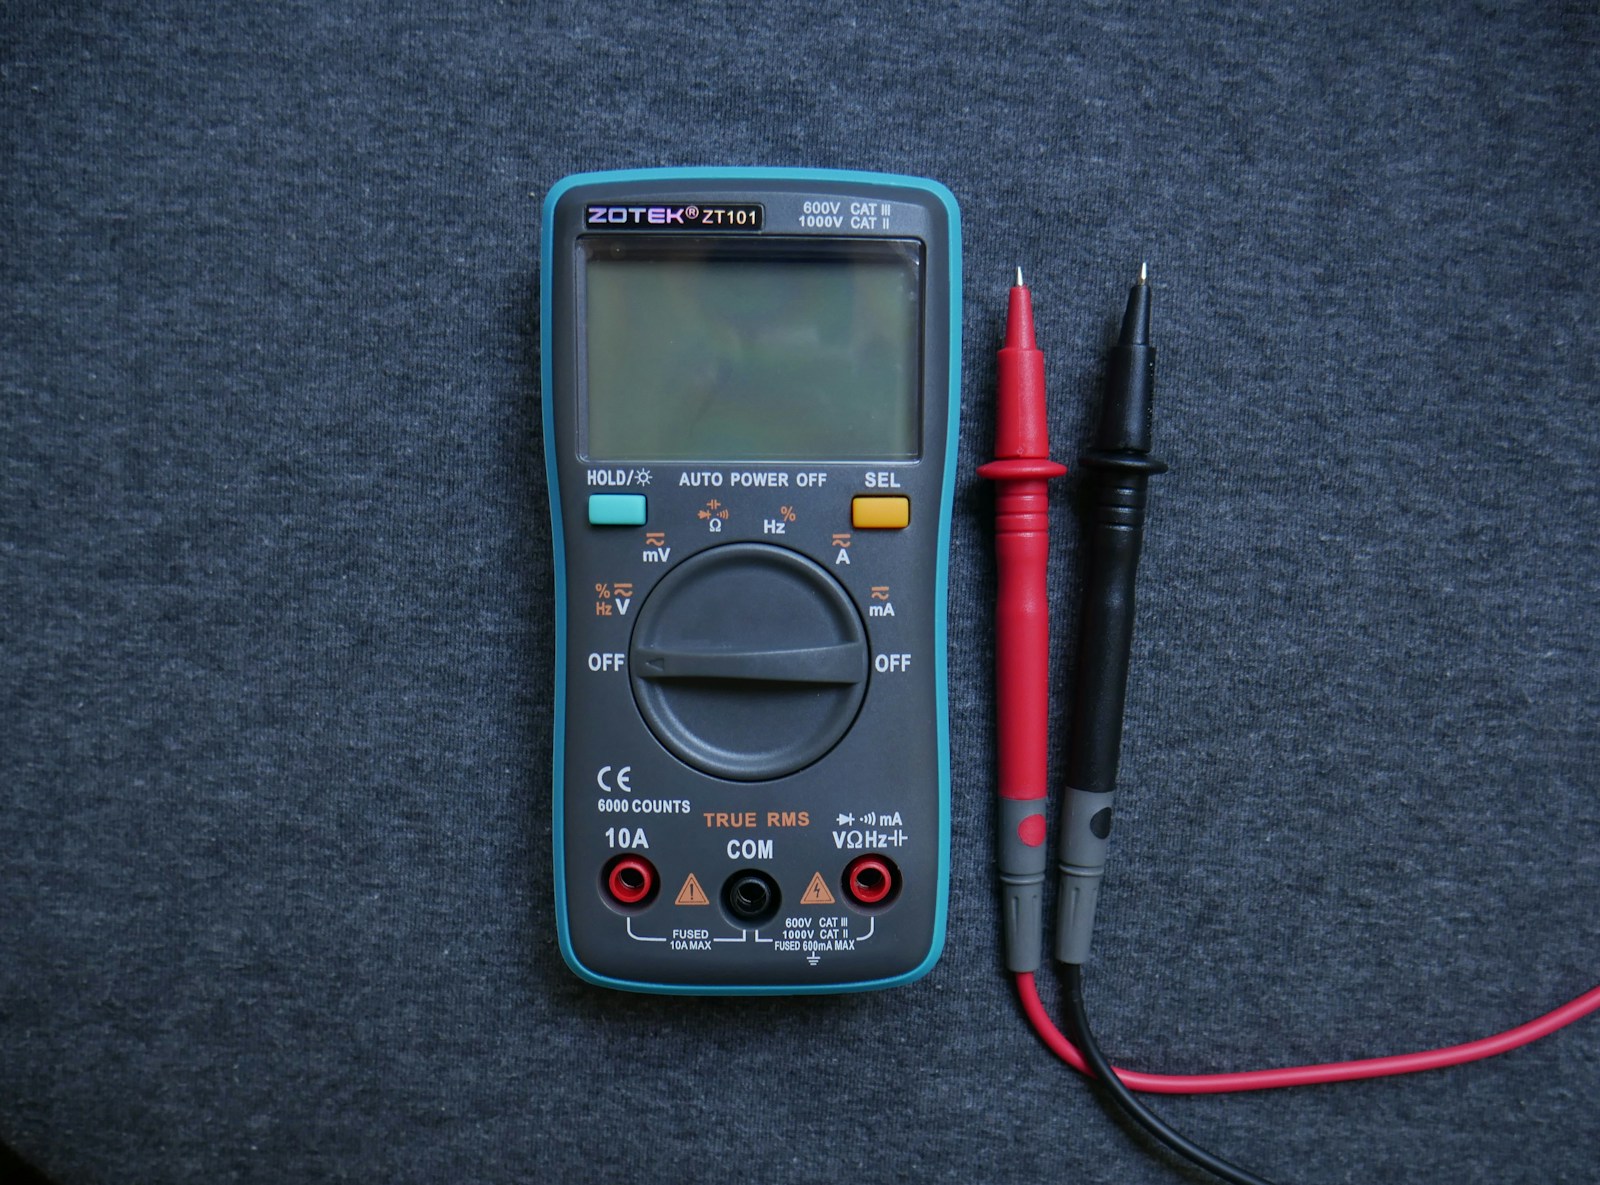
Getting Started
- Identify the Components: Familiarize yourself with the multimeter’s dial, display, ports, and test leads (usually red and black). The dial is your control center, allowing you to select the measurement type and range.
- Setting the Dial: Start with the basics:
- DC Voltage (V with a straight line): For measuring voltage in batteries, circuits powered by adapters, etc.
- AC Voltage (V with a wavy line): For measuring voltage in household outlets and appliances.
- Resistance (Ω): For measuring the resistance of resistors, checking continuity, etc.
- Connecting the Test Leads: The black lead always goes into the ‘COM’ port. The red lead connects to the appropriate port based on your chosen measurement type.
Measuring Voltage
- Select the Voltage Type (DC or AC): Rotate the dial to the correct voltage setting. Choose a range higher than the expected voltage to prevent overloading the meter.
- Connect the Leads: Touch the red lead to the positive (+) point and the black lead to the negative (-) point of the circuit or component. The display will show the voltage reading.
Measuring Current
- Select the Current Type (DC or AC): Choose the appropriate current setting on the dial, ensuring the range is higher than the expected current.
- Break the Circuit: Current measurement requires the multimeter to be part of the circuit. Carefully break the circuit where you want to measure the current.
- Connect the Leads: Place the multimeter in series with the circuit. The current flows through the meter, and the display shows the current reading.
Measuring Resistance
- Select the Resistance Setting (Ω): Turn the dial to the resistance setting.
- Disconnect Power: Always disconnect power from the circuit or component when measuring resistance.
- Connect the Leads: Touch the leads to the two points of the resistor or circuit segment. The display will show the resistance in ohms.
Pro Tips
- Start with a higher range: When unsure about the voltage or current you’re measuring, start with a higher range on the multimeter and then adjust downwards to get a more accurate reading.
- Respect the red lead: When measuring current, exercise caution as the red lead carries the current. Avoid touching it or letting it come into contact with other conductive parts.
Tags: #Multimeter #Electronics #DIY #Beginner #HowTo #Voltage #Current #Resistance