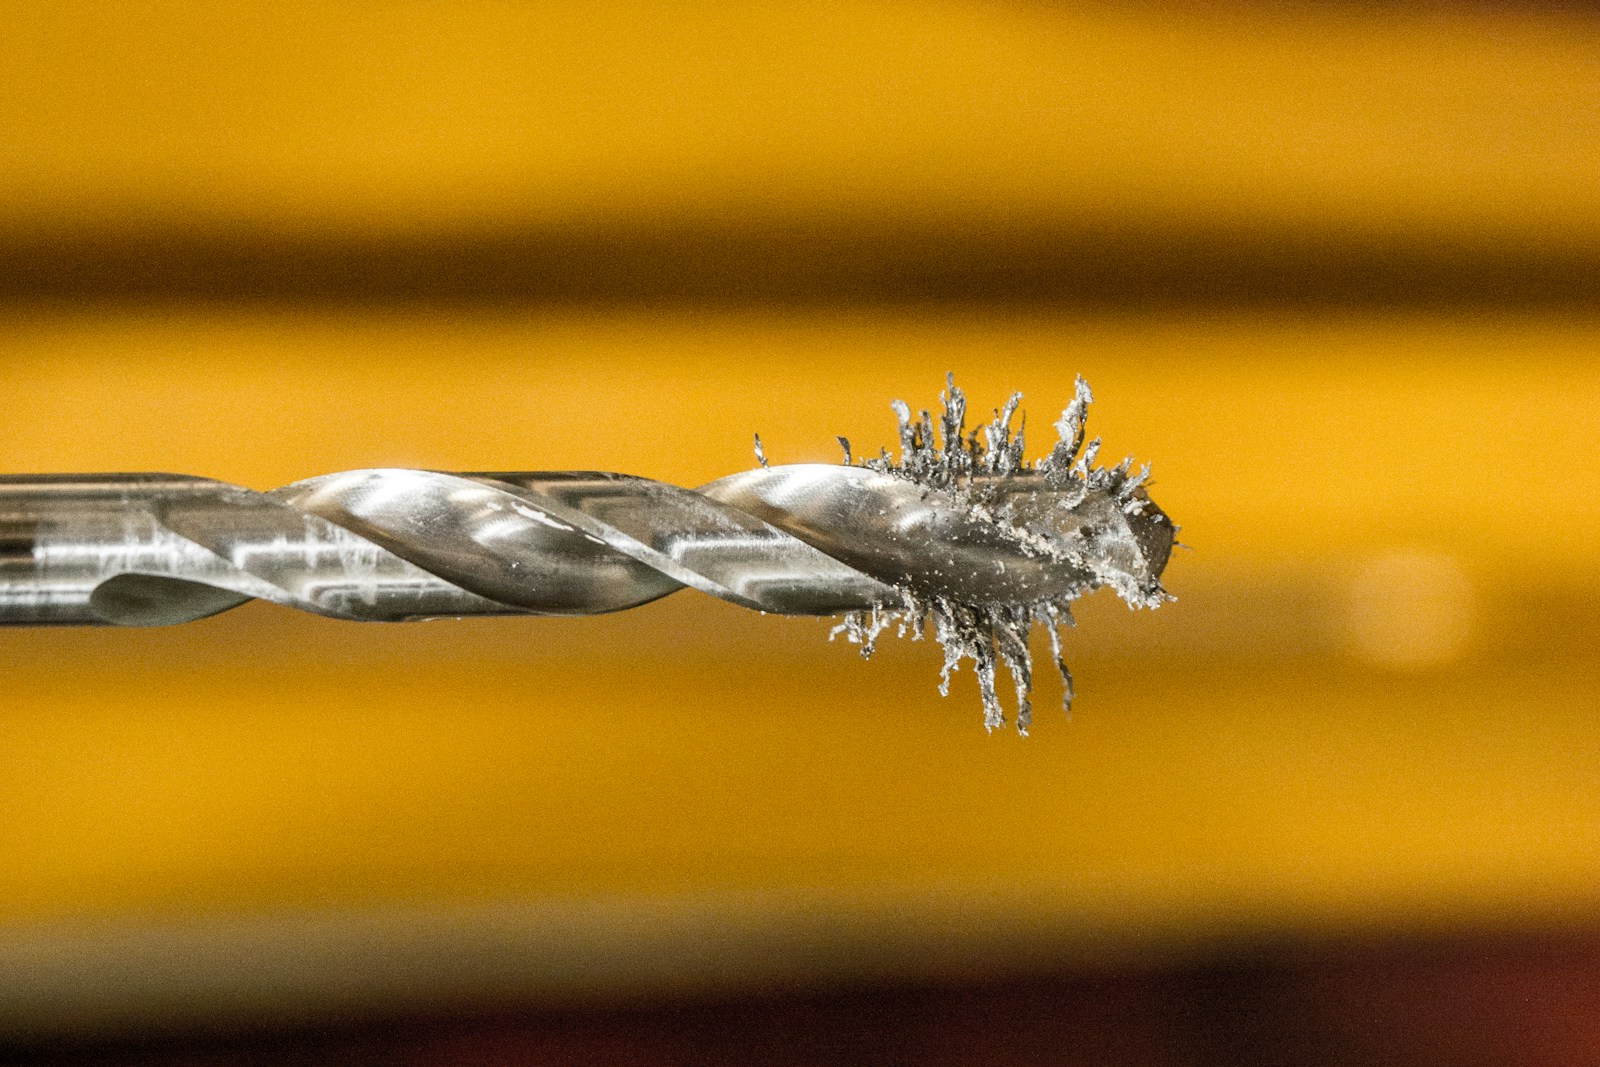
A dull drill bit is a recipe for frustration, leading to slow progress, burned materials, and even dangerous kickback. Luckily, sharpening your drill bits is a straightforward process that can significantly extend their lifespan and improve drilling performance. Here’s what you need to know:
What You’ll Need:
- Bench grinder with a dressing stone
- Safety glasses
- Work gloves
- Coolant or water
Sharpening Process:
- Safety First: Always wear safety glasses and work gloves when operating a bench grinder. Before you begin, ensure the grinder’s rest is adjusted properly to support the bit during sharpening.
- Examine the Bit: Identify the cutting edges and the point angle of your drill bit. The point angle varies depending on the material you’re drilling (e.g., 118 degrees for general-purpose drilling).
- Grind the Cutting Edge: Hold the bit firmly at the correct angle against the spinning grinding wheel. Apply gentle, even pressure, moving the bit back and forth across the wheel to create a smooth, even bevel. Dip the bit frequently in coolant or water to prevent overheating, which can damage the bit’s temper.
- Maintain Symmetry: It’s crucial to maintain the bit’s symmetry while sharpening. Both cutting edges should have the same length and angle. Use a marker to mark the cutting edges before sharpening to help you maintain consistency.
- Check Your Work: After sharpening, inspect the bit for even bevels and a sharp point. You can test the sharpness on a piece of scrap wood.
Pro Tips:
- Use a Drill Bit Sharpening Jig: For even more precise sharpening, consider using a drill bit sharpening jig. These jigs help you maintain the correct angle and alignment throughout the process.
- Don’t Over-Sharpen: Sharpening removes material from the bit. Avoid over-sharpening, as this can shorten the bit’s lifespan.
Tags: DIY, Workshop, Tools, Drill Bits, Sharpening
