Replacing your brake pads is a crucial aspect of car maintenance that can save you money and give you a sense of accomplishment. This intermediate-level guide will walk you through the process step-by-step.
Tools You’ll Need:
- Car jack and jack stands
- Lug wrench
- C-clamp or brake piston compressor
- Wrench (size will vary depending on your car)
- Socket set
- Screwdriver
- Brake cleaner
- Shop rags
- New brake pads
- High-temperature brake grease
Step-by-Step Guide:
- Safety First: Park your car on a level surface and engage the parking brake. Chock the rear wheels for added safety.
- Loosen Lug Nuts: Use the lug wrench to slightly loosen the lug nuts on the wheel where you’ll be replacing the brake pads.
- Lift the Car: Position the car jack under the designated jacking point near the wheel you’re working on. Consult your owner’s manual for the correct location. Raise the car until the tire is off the ground.
- Secure with Jack Stands: Place jack stands under the car’s frame for safety. Never work under a car solely supported by a jack.
- Remove the Wheel: With the car securely on jack stands, finish removing the lug nuts and take off the wheel.
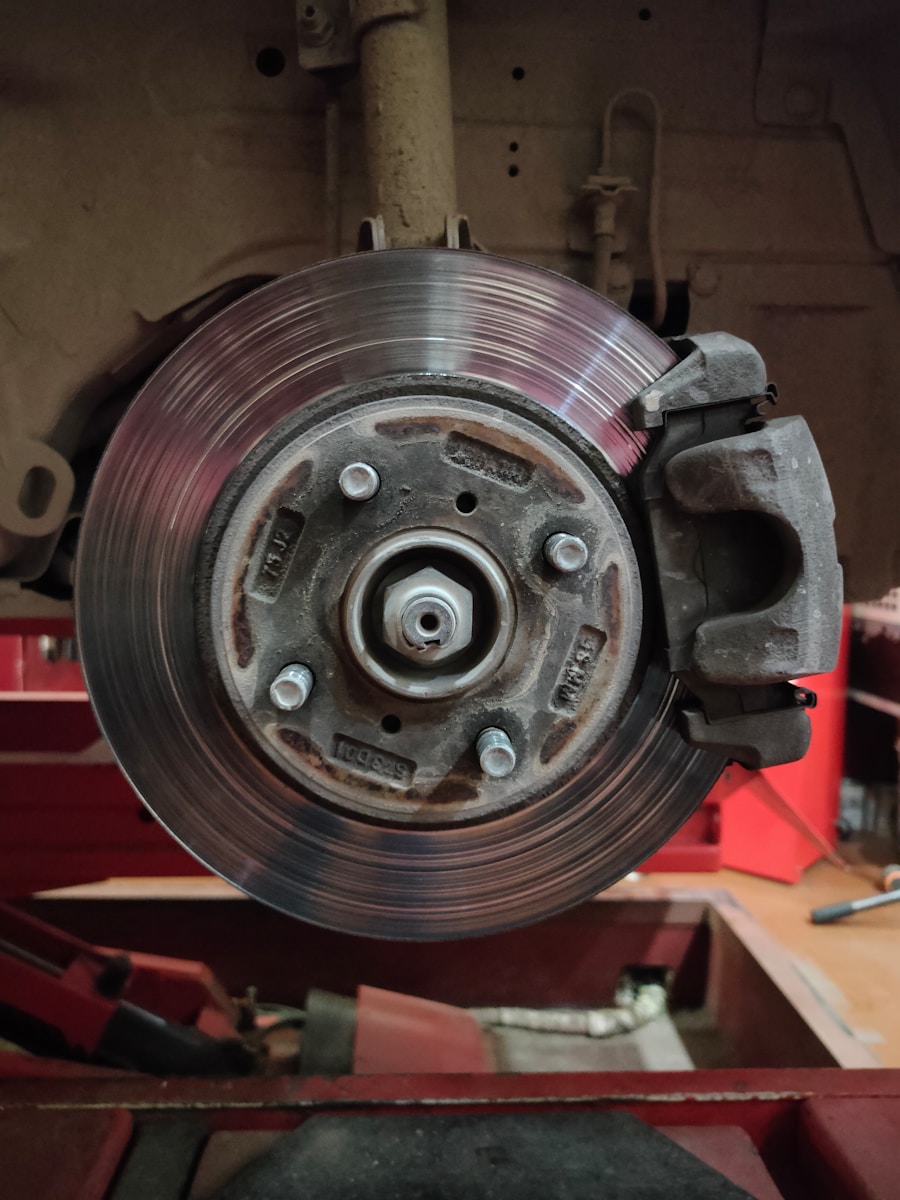
- Access the Brake Caliper: Locate the brake caliper, which houses the brake pads. You might need to remove a few bolts or pins using your wrench or socket set.
- Compress the Caliper Piston: Use a C-clamp or brake piston compressor to carefully compress the caliper piston back into its bore. This creates space for the new, thicker brake pads.
- Remove Old Brake Pads: Once the caliper piston is compressed, you should be able to slide the old brake pads out. Note their position for installing the new ones.
- Install New Brake Pads: Apply a thin layer of high-temperature brake grease to the back of the new brake pads (where they contact the caliper piston). Slide the new pads into the same position as the old ones.
- Reassemble the Caliper: Reinstall the caliper, ensuring all bolts and pins are securely fastened.
- Reinstall the Wheel: Place the wheel back on, threading the lug nuts by hand.
- Lower the Car: Use the car jack to lower the car slightly, allowing the wheel to touch the ground but still supporting some weight. Tighten the lug nuts in a star pattern to the manufacturer’s specified torque.
- Lower Completely and Repeat: Lower the car completely and repeat the process for the other wheels.
- Test the Brakes: Before driving, pump the brake pedal a few times to restore pressure. Test the brakes in a safe location at low speeds.
Pro Tips:
- Bed in your new brake pads: After installation, perform a series of moderate stops from moderate speeds to allow the new pads to mate properly with the rotors. Avoid hard braking for the first few hundred miles.
- Inspect your rotors: While replacing the brake pads, inspect your brake rotors for excessive wear, grooves, or scoring. If they’re significantly worn, consider having them resurfaced or replaced for optimal braking performance.
Tags: DIY, Auto Maintenance, Brake Pad Replacement, Car Repair