The Raspberry Pi Pico, a credit card-sized powerhouse, has become a darling of the hobbyist world. Its low cost, powerful RP2040 microcontroller, and built-in support for MicroPython make it an ideal platform to tinker with electronics and programming. MicroPython, a simplified version of Python, allows you to write code for the Pico without needing a hefty compiler or complex setup.
So, how do you unlock the magic of the Pico and MicroPython? Buckle up, because we’re about to embark on a thrilling journey into the world of embedded programming!
Getting Started:
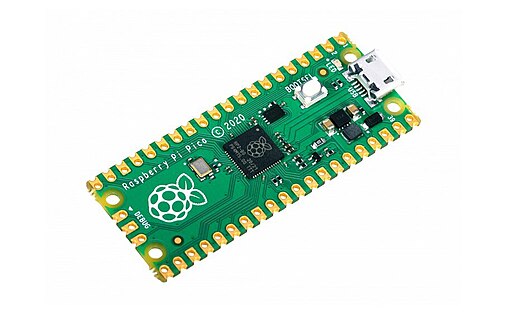
- Hardware Essentials: You’ll need your Raspberry Pi Pico, a micro USB cable to connect it to your computer, and a power source (a wall adapter or a power bank will do).
- Flashing MicroPython: Download the latest MicroPython UF2 file from the official Raspberry Pi website (https://www.raspberrypi.com/documentation/microcontrollers/micropython.html). With the Pico connected to your computer and holding down the BOOTSEL button, put the Pico in boot mode. Drag and drop the UF2 file onto the Pico’s drive (it will appear as a removable disk). Done!
- Choosing Your Weapon: You have two options for interacting with your Pico and code:
- Thonny IDE: This free and beginner-friendly Python IDE is a great choice. Download it from https://thonny.org/ and select “MicroPython (Raspberry Pi Pico)” as the interpreter.
- REPL (Read-Eval-Print Loop): Connect to the Pico’s REPL using a serial terminal program like PuTTY (https://www.putty.org/). Access the Pico’s serial port (usually COM3 or higher on Windows) and baud rate (typically 115200).
Let’s Write Some Code!
Now for the fun part: coding! Here are three simple examples to get you started:
Example 1: Blinking LED
The classic “Hello World” of embedded programming. This code blinks the onboard LED on the Pico.
Python
from machine import Pin

led = Pin(25, Pin.OUT)  # Set pin 25 as output for the LED

while True:
  led.value(1)  # Turn on LED
  time.sleep(0.5)  # Wait for half a second
  led.value(0)  # Turn off LED
  time.sleep(0.5)  # Wait for half a second
Example 2: Reading Button Input
This code reads the state of a button connected to a GPIO pin and prints a message to the REPL.
Python
from machine import Pin

button_pin = Pin(16, Pin.IN)  # Set pin 16 as input for the button

while True:
  button_state = button_pin.value()  # Read the button state (0 or 1)
  if button_state == 0:
    print("Button Pressed!")  # Print message when button is pressed
  time.sleep(0.1)  # Short delay to avoid rapid reads
Example 3: Controlling an LED with PWM
This code demonstrates using Pulse Width Modulation (PWM) to control the brightness of an LED connected to the Pico.
Python
from machine import Pin

led = Pin(25, Pin.OUT)  # Set pin 25 as output for the LED
pwm = led.pwm(freq=1000)  # Create a PWM object with a frequency of 1000 Hz

while True:
  for duty_cycle in range(0, 101):  # Loop through brightness levels (0-100%)
    pwm.duty(duty_cycle)  # Set the LED brightness based on duty cycle
    time.sleep(0.01)  # Short delay between brightness changes
Pro Tips:
- MicroPython Libraries: Explore the vast library of MicroPython libraries available online. These libraries offer functionalities like interacting with sensors, displays, and even controlling motors!
- Explore the Community: The Raspberry Pi community is incredibly active. Online forums and resources abound, offering help, project ideas, and inspiration for your Pico adventures.
With these steps and a little experimentation, you’ll be well on your way to mastering MicroPython and unlocking the full potential of your Raspberry Pi Pico. Remember, the journey of learning to code is filled with exploration and discovery. So, have fun, experiment, and get ready to create amazing things with your tiny tech companion!