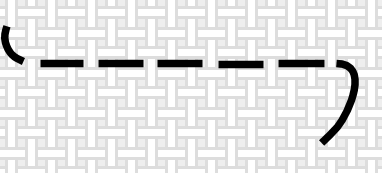
Embark on your sewing journey with the most fundamental stitch: the running stitch. This simple yet versatile stitch is perfect for beginners and serves as a building block for more complex techniques. Here’s your step-by-step guide:
What you’ll need:
- Needle: Choose a size appropriate for your fabric (larger size for thicker fabrics, smaller size for thinner fabrics).
- Thread: Select a color that complements your project.
- Fabric: Start with a woven fabric like cotton for easier handling.
- Scissors
Instructions:
- Threading the Needle: Cut a length of thread, about 18 inches to start. Thread one end through the eye of the needle. Tie a knot at the other end to prevent the thread from slipping through the fabric.
- Starting your stitch: Begin by pushing the needle up through the fabric from the wrong side (the side that won’t be visible) to the right side. Leave a short tail of thread at the starting point. Hold the tail with your thumb as you make the first few stitches.
- Sewing the stitch: Insert the needle down through the fabric a short distance away from where you came up. Bring the needle back up through the fabric, creating a stitch. Repeat this process, pushing the needle up and down through the fabric in a straight line, keeping the stitches evenly spaced.
- Finishing the stitch: Once you reach the end of your seam, make a small backstitch to secure the thread. Push the needle through the fabric to the wrong side, and then bring it back up a short distance from where you came up. Pass the needle under the last stitch on the wrong side of the fabric and pull the thread tight to create a knot.
Pro Tips:
- Practice makes perfect: Start by practicing on scrap fabric to get comfortable with the rhythm of the running stitch.
- Consistent spacing: Aim for evenly spaced stitches for a neat and professional look.
Sewing, Beginners, Running Stitch, DIY, Hand Sewing
