Maintaining your vehicle’s braking system is paramount for safety, and a crucial aspect of this is the often-overlooked brake fluid flush. Over time, brake fluid absorbs moisture, which can lead to reduced braking performance and potential component damage. This guide will walk you through the process of flushing your brake fluid, empowering you with the knowledge to enhance your vehicle’s stopping power.
Understanding Brake Fluid and Its Importance
Brake fluid is a hygroscopic fluid, meaning it attracts and absorbs moisture from the atmosphere. This absorbed moisture can lower the fluid’s boiling point, making it susceptible to vaporization under high-heat conditions generated during braking. Vapor in the brake lines compresses, leading to a spongy brake pedal feel and reduced braking efficiency.
When to Flush Your Brake Fluid
It’s generally recommended to flush your brake fluid every 2 years or 24,000 miles, whichever comes first. However, driving conditions and vehicle usage can influence this interval. Consult your owner’s manual for specific recommendations for your vehicle model.
Gathering the Necessary Tools and Materials
Before you begin, gather the following:
- New brake fluid (check your owner’s manual for the correct type and DOT rating)
- Clear tubing (about 1/4 inch diameter)
- Wrench set (to loosen and tighten bleed valves)
- Brake bleeder bottle or a clean container
- Gloves and safety glasses
- A helper (optional but recommended)
Step-by-Step Brake Fluid Flush Procedure
- Safety First: Park your vehicle on a level surface, engage the parking brake, and allow the engine to cool down completely.
- Locate the Master Cylinder: Open the hood and identify the brake master cylinder, typically located on the driver’s side of the firewall. Clean the area around the reservoir cap to prevent contaminants from entering the system.
- Prepare the New Fluid: Carefully open the master cylinder reservoir and top it off with fresh brake fluid.
- Identify the Bleed Sequence: Consult your vehicle’s repair manual to determine the correct bleed sequence for your specific brake system. This sequence ensures that air is properly purged from each wheel cylinder or caliper.
- Bleed the Brakes: Starting with the wheel farthest from the master cylinder, attach the clear tubing to the bleed valve and submerge the other end in the brake bleeder bottle or container. Have your helper depress the brake pedal several times until firm, then hold the pedal down.
- Open the Bleed Valve: While your helper maintains pressure on the brake pedal, carefully loosen the bleed valve using a wrench. Brake fluid will flow through the tubing into the container, carrying air bubbles with it.
- Close the Bleed Valve: Tighten the bleed valve as soon as the brake fluid flow becomes clear and free of air bubbles. Instruct your helper to release the brake pedal.
- Repeat the Process: Repeat steps 5-7 for each wheel, following the correct bleed sequence. Remember to top off the master cylinder reservoir with fresh brake fluid throughout the process, ensuring it never runs dry.
- Final Check: Once all four wheels have been bled, inspect the brake fluid level in the master cylinder reservoir and top it off as needed. Double-check all bleed valves for tightness.
- Test the Brakes: Start the engine and gently apply the brakes several times to restore pressure. Go for a short test drive in a safe location, paying attention to the brake pedal feel and responsiveness.
Pro Tips
- Use a Vacuum Bleeder: For a quicker and more efficient bleeding process, consider using a vacuum bleeder tool. This tool helps draw brake fluid through the system, minimizing the need for a helper.
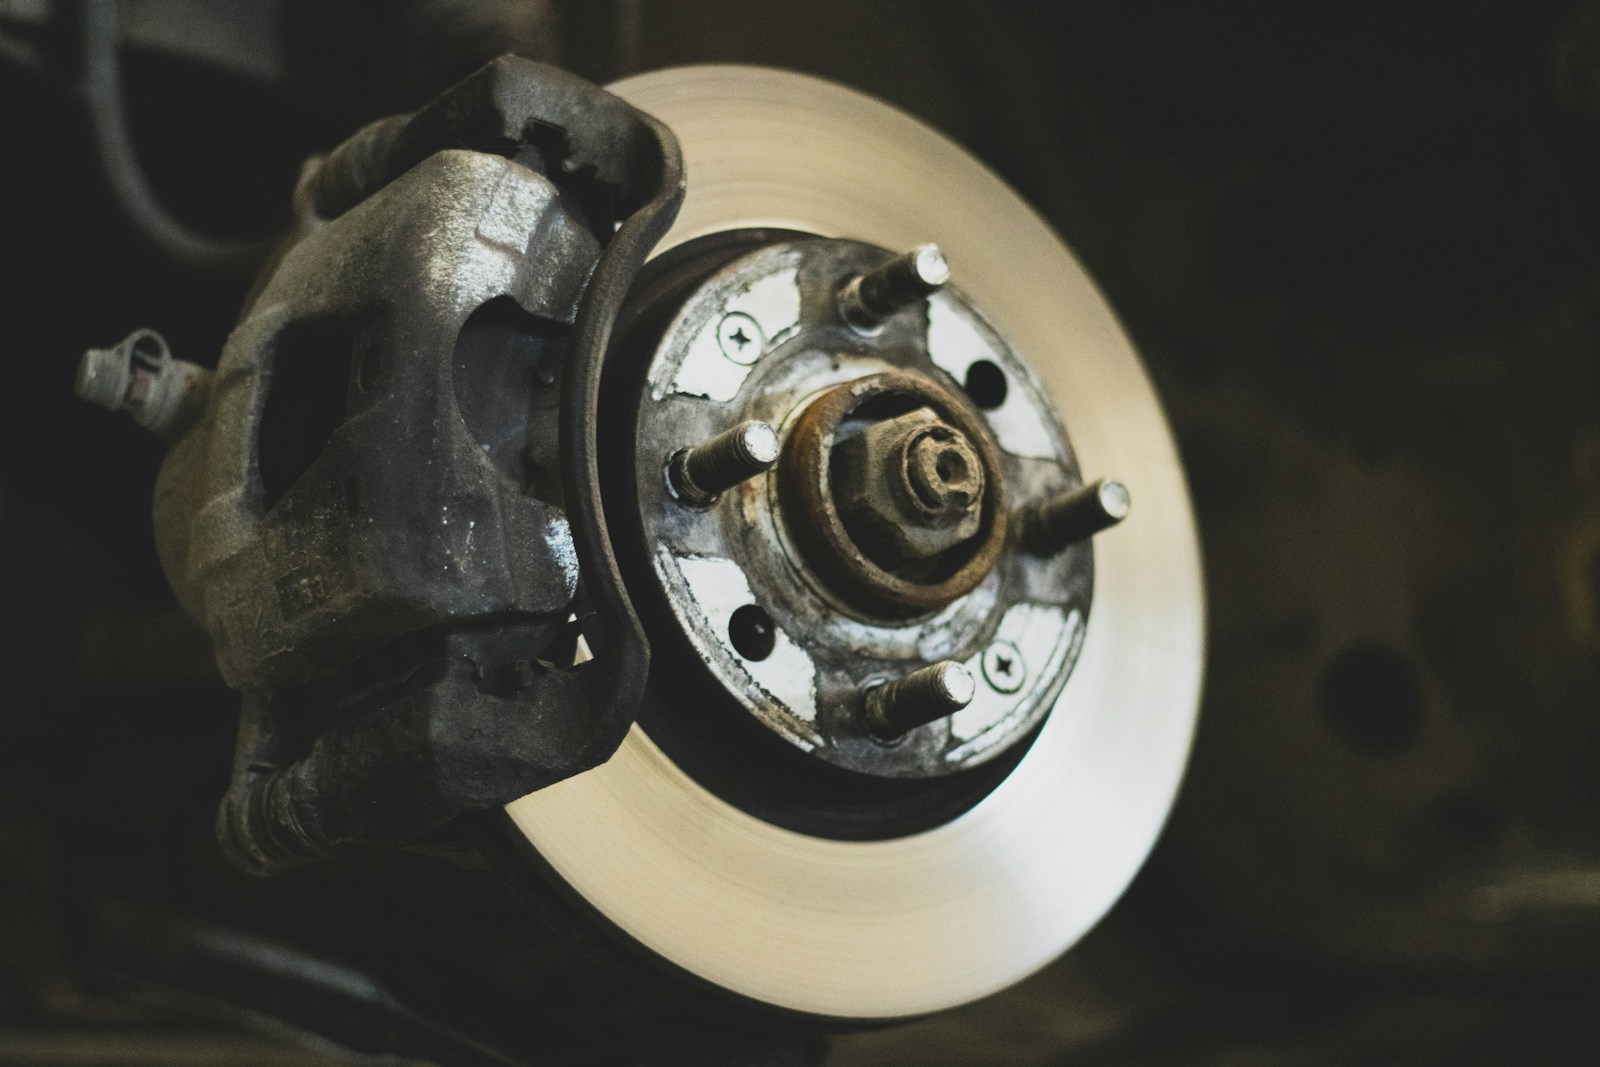
- Inspect Brake Components: While flushing your brake fluid, take the opportunity to visually inspect your brake pads, calipers, and rotors for signs of wear and tear. Address any issues promptly to maintain optimal braking performance.
Tags: DIY, Auto Maintenance, Brake Fluid Flush, Car Repair, Brake System. Safety First

This article is great information, I will be doing brake flush soon and found this helpful.
Glad you found it helpful! We just posted an article on changing brake pads as well that you may be interested in: https://bestmakers.org/mastering-brake-pad-replacement-a-diy-guide